In the darkest corners of your closet, they are hidden. They’re rarely ever charged, scarcely used, and completely unhelpful. What are they? Your student’s AT.
Parents really advocated for assistive technology evaluations because they want their students to have the ability to communicate. Often times the problem is not getting the device, the problem is effectively using the device.
So why does it happen?
Why do these expensive devices that were so hard to get end up unused?
And what can you do to make them more accessible?
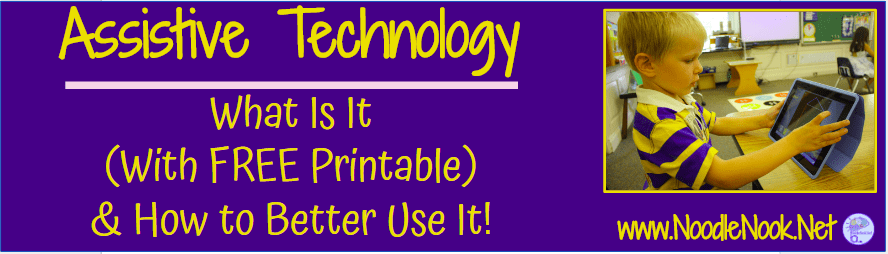
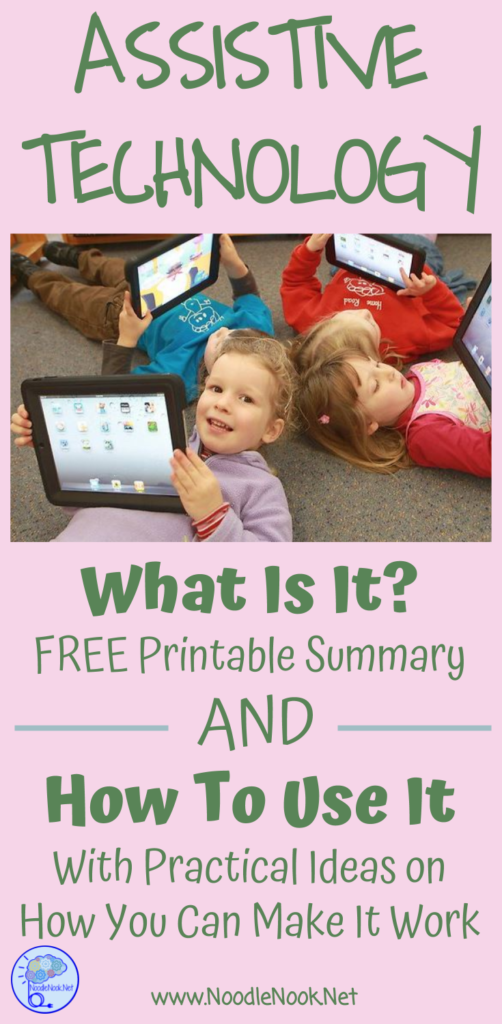
What is Assistive Technology
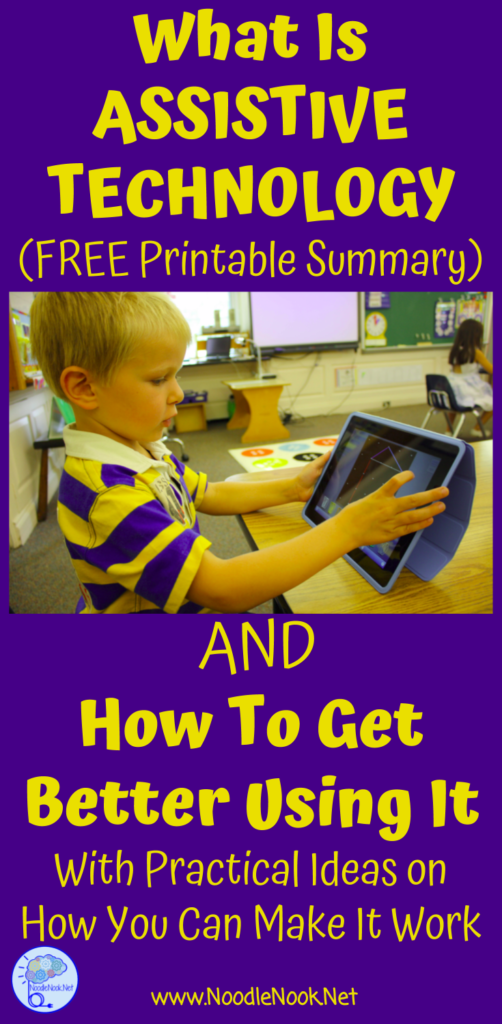
Simply put, Assistive Technology is any item that’s used to increase, maintain, or improve the functional capability of a person with a disability. Assistive Technology ranges from no tech and low tech to high tech. Most people think of AT as iPads and VODs, but that is not the total scope of AT. Before we talk about implementing AT better in your classroom, let’s first wrap our brains around the vast AT at your disposal.
No or Low Tech AT in Your Classroom
No tech or low-tech assistive technology involves any special devices or equipment. The devices are simple and don’t have a lot of mechanical parts. They also aren’t charged, so put the box of batteries away. These procedures, services, and conditions in your classroom make it easier for students to access the curriculum and most people can figure out how to use No and Low Tech devices with minimal training.
These include things like:
- Magnifiers, Highlighters or Highlighting Tape, Correction Tape
- Pencil Grips, Dry Erase Boards, Velcro (to hold things in place)
- Colored Paper, Raised Paper, Slant Boards (or a Binder)
- Extra Time for Testing, Using a Scribe or Interpreter, Using a Person to Read Aloud
- Adapted Spoons, Pens, or Cups
- Eye Glasses, Magnifying Glasses, and Magnifying Strips
- Canes, Walkers, Reachers or Grabbers
- Visuals (like schedules) or Visual Supports
Real quick… which one of these do you use in your classroom? See… you do have AT in your classroom and it’s not hiding in a closet! And which one can you start using today in your classroom?
Mid-Tech AT in Your Classroom
Mid-Tech assistive tech will involve some batteries or a charger. You may need some initial directions or access to the manual to figure it all out, but tech-savvy teachers may be able to figure it out solo.
Some examples of Mid Tech AT include:
- Timers (personal or classroom)
- Talking Spell Checkers, Talking Calculators, or Talking/Portable Keyboard
- Electronic Organizers, Audio Books,
- Alternative Mouse, Adapted Keyboard, or Screen Magnifier
- Manual Wheelchairs
Once again, what do you use in your classroom and what can you start doing today?
High-Tech AT in Your Classroom
High Tech Devices are usually computer-based or involve sophisticated electronics. They are more complicated to set up and maintain, so you may need technical support and some extra training. High-tech assistive devices include:
- Power Wheelchairs or Digital Hearing Aids
- Zoom Text Software or Other Accessibility Software
- Computers with Voice Output or Speech Recognition Capabilities
- Voice Activated Devices or Eye Gaze Controlled Computers
- Bluetooth Enabled Devices, Personal Computing Devices, or Tablets
Again, you may have a nest egg stored up, but I doubt you want to blow all your cash on assistive tech. These kinds of things will come from your campus or district… or from your GoFundMe.
If you are wanting more about Assistive Tech (like a fabulous PRINTABLE list & strategies), click here.
Don’t Forget YOU!
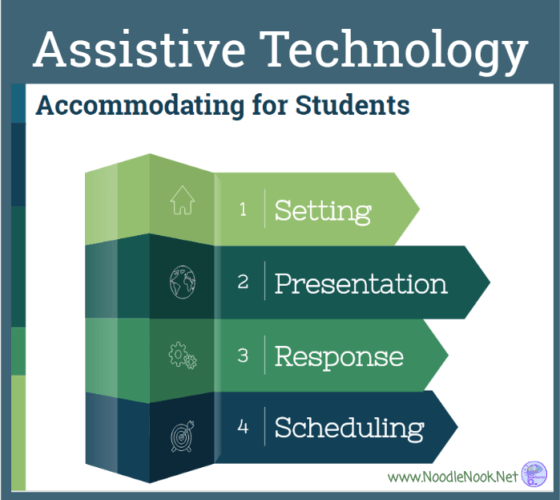
I know this sounds crazy, but you are the most important assistive technology device in your classroom. You. You are the item that can help most students with disabilities increase, maintain, or improve their capacity.
Now I don’t want you to think I’m suggesting we strap you to a kid’s wheelchair and call you AT… but you are able to accommodate so much during instruction that can help.
During instruction, you can change:
- The SETTING a student is in and the environment around them
- How instruction is PRESENTED
- The way students are able to RESPOND
- How you SCHEDULE a student (and what they are expected to complete in a set amount of time).
What else can you do to make using assistive technology in your classroom just part of your normal routine?
Try these:
- Model, Model, Model. You have to model what things look like. Even with something as simple as a pencil grip, you will have to show students what that looks like.
- Write it Into Your Lesson Plan. You will forget otherwise, or at least not use it as much as you should, so always put it into your plan. You must incorporate it into everything and be consistent.
- Make Your Learning Ongoing. Make a quick list of AT devices you want to learn more about. Now mark it on your calendar… maybe once a week, every two weeks, or once a month. On those days, spend 30 minutes watching a YouTube video on it and practicing what you’ve learned. Then be very intentional about doing it in the classroom.
- Let the Students Teach. Learning from a peer is powerful, so have students model good use to other students. You can also have them help hold you accountable- kids today have so much tech know-how they can probably teach ya a thing or two. Take the time to familiarize the whole class so they can help you.
- Really Reflect. What is working and what isn’t? You have to be able to see what is effective and change how you are guiding your students.
It Matters.
Research has shown over and over that assistive devices improve performance for all students, not just those with disabilities. And, what is more powerful, using assistive technology makes a noticeable difference in just a few sessions with a student. (Research Brief Volume 8, Number 1 2013).
What does that mean? Do it… Just do it! Pick one thing from this list or one thing you are going to improve in your instruction as start today.
Want to keep reading about assistive technology? Check out this post that details low, mid, and high-tech AT tools.
