Every special education teacher has to find a way to set up data. Data collection is the backbone of the job! Here are 6 ways to setup data in your classroom to be handy as you are teaching and make sense for you.

There are 6 easy ways to set up your data as you tackle IEP goals in your special education classroom. Below are six ways you can set up your data as you try to get more organized.
Paperwork for a special education teacher can be overwhelming. Reading over the benefits of each system will help you decide which one is right for you. Just like a pair of work shoes, you have to pick what you want to walk around in all day- what you like and what’s most comfortable for you.
Needed Materials to Setup Data
Depending on the format you choose, you will need a combination of the following:
Single Data Folder for Each Student
When you get ready to organize students, your teacher-brain may need to keep every student separate. This works particularly well for teachers in self-contained classrooms or elementary classrooms where the caseload is smaller. When you get up above 20-30 students with individual folders, it can be tough to keep up with them all.
To get this started, get a colored folder for each student and label it with each student’s name. Inside, place all the data sheets. I am a little extra OCD and I like to tab each student’s folder with a tab for the subject area too. You will only need this option if your students have multiple goals for each subject area.

Data Binder
If the thought of folders all over your classroom makes your OCD Spidey-Sense tingle, then a binder system may be better for you. This format is perfect for teachers who are working with lots of students, like in a secondary setting, where students change every class period.
To set up this system, you can use either a large binder with several tabs inside to organize it by period, subject, or student. You can also opt to set up a couple of smaller binders so you’re not stuck lugging around a huge binder every day. If that sounds better, organize those binders by month, grading period, or semester to keep the binder small and under control.
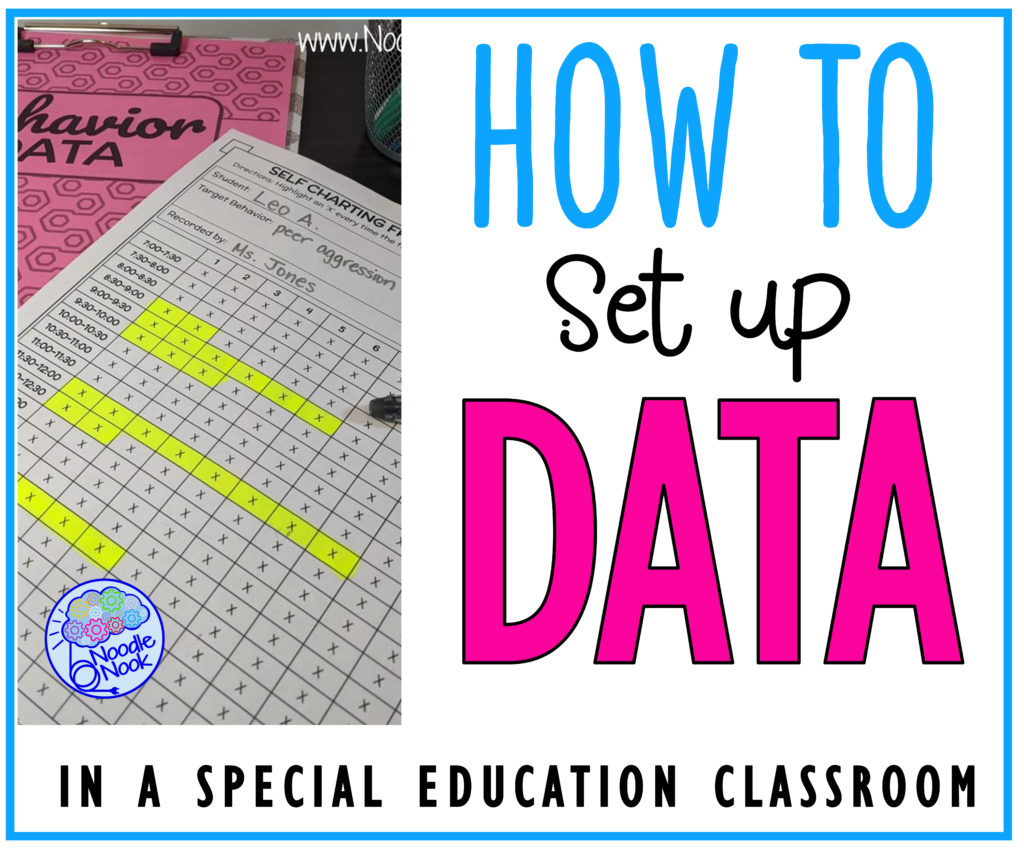
If you are targeting behavior goals and looking for a way to add those specific forms to your data binder, then check out this post on Behavior Data Collection.
Clipboard with Command Hooks on the Wall
I have always been super organized within my classroom… all my stations and areas were neat with materials at the ready. My desk, however, always looked like something from the depths of a trash pile. I knew where everything was… but to an outside observer, it may look a little disorganized.
If you are anything like me, then putting data sheets on a command hook on the wall keeps this classroom essential at the ready! Organize them by class period or by subject and, to keep your student’s privacy, put a colored piece of paper on the top so you know which one is which.
Clipboard for Station or Staff Member
If you are dividing data collection duties between stations or staff, then clipboards will still work, but you may want to keep them organized by the person who will be collecting it or where the data will be collected.
You can still put a colored piece of paper on the front to cover personal data, but on that paper you can list the staff member’s name or the station where it belongs.
Multiple Goals on One Sheet
I have always done better with less paper and the least complex system possible. When I finally transitioned to a one-sheet system, I found it was super easy to keep tabs on what data I had left to take every week.
To get this going, list out similar goals on a couple of post-its. As an example, if you were teaching English, you may have some writing goals, some reading goals, some fluency goals, and so on. Once you have those in categories, put them in a table on paper by category. I listed student initials next to the goals because the clipboard was always out somewhere (remember my desk?), and that was better for me. I also tied a pen to the clipboard too… yeah, it beez like that sometimes!
Once they are all on one sheet, you are ready to start collecting!
Google Form
When I support other teachers in their classrooms, I also take data on their classroom setup and flow. I actually do all of that electronically on a Google Form with my phone.
I love the simplicity of always having my data sheets in the palm of my hand. I also like how I can make the form responsive. I can use a separate path depending on the person I am taking data for.
I train teachers on setting up Google Forms for Data at conferences and within school districts often… which means I can share some of that with you. Here is an example of what a teacher’s data collection system could look like. Check this out and try it as a couple of different students to see how the sheet is responsive to your choices.
If you are tech-savvy and data in the palm of your hand appeals to you, then this is the best system I have found.
Putting It All Together
No matter the system you put together, you have to commit to getting started. Sometimes it is hard to choose, but rest assured no matter what you pick you will either love it or hate it. If the system you started with doesn’t seem to jive with you, ditch it and try another. The system is always secondary to actually getting the data.
Stay Strong and Teach On!